Sending Receipts
We have two different receipts in MX Merchant. If the Invoice App is activated, you have access to our Modern Receipt; otherwise, all payments use the Classic Receipt.
Receipt Examples
Click an example below to see each receipt

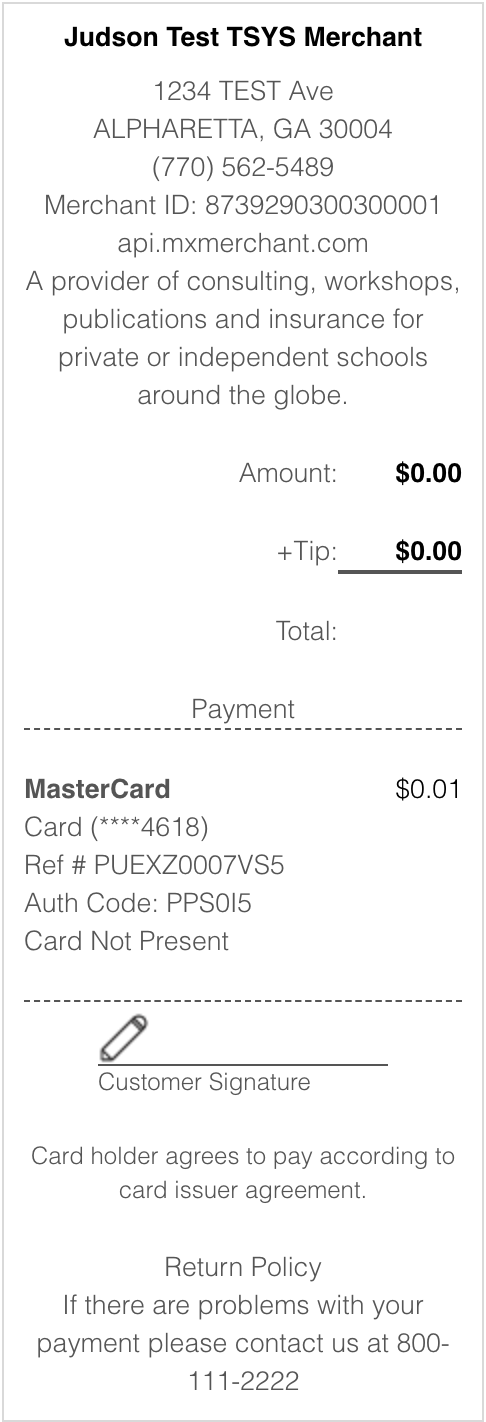
The Classic Receipt shows the header, which can be configured in Settings::Receipts
}
The amount charged and any tax or tip information
}
Payment information including card type, last 4, reference number, auth code, card presence, and invoice number (if present).
}
Return Policy
}
- } Invoice Number
- } Company Logo
- } Customer Data
- Company Header {
- Invoice Date & Terms {
- Totals, taxes, & discounts {
- Payments History }
- Invoice History }
Sending Receipts via API
To send receipts through the API, you just need to send the following request:
POST https://api.mxmerchant.com/checkout/v3/paymentreceipt?id={paymentId}&contact={[email protected]} HTTP/1.1
Accept: application/json
Authorization: Basic xxxx
Host: api.mxmerchant.com

A successful response returns a 202 Accepted Response Code
POST https://api.mxmerchant.com/checkout/v3/paymentreceipt?id={paymentId}&contact={10digitPhone#} HTTP/1.1
Accept: application/json
Authorization: Basic xxxx
Host: api.mxmerchant.com

A successful response returns a 202 Accepted Response Code
To send invoices through the API, you just need to send the following request:
POST https://api.mxmerchant.com/checkout/v3/invoicereceipt?id={invoiceId}&contact={[email protected]}&isHtml=true HTTP/1.1
Accept: application/json
Authorization: Basic xxxx
Host: api.mxmerchant.com

A successful response returns a 202 Accepted Response Code
POST https://api.mxmerchant.com/checkout/v3/invoicereceipt?id={invoiceId}&contact={10digitPhone#}&isHtml=true HTTP/1.1
Accept: application/json
Authorization: Basic xxxx
Host: api.mxmerchant.com

A successful response returns a 202 Accepted Response Code
Updated over 5 years ago
